


Regrinding endmills on GriStar Series No.3 (Ball End Endmill)
Oct. 11. 2021

In this article, we will introduce about Ball End Mill’s regrinding .
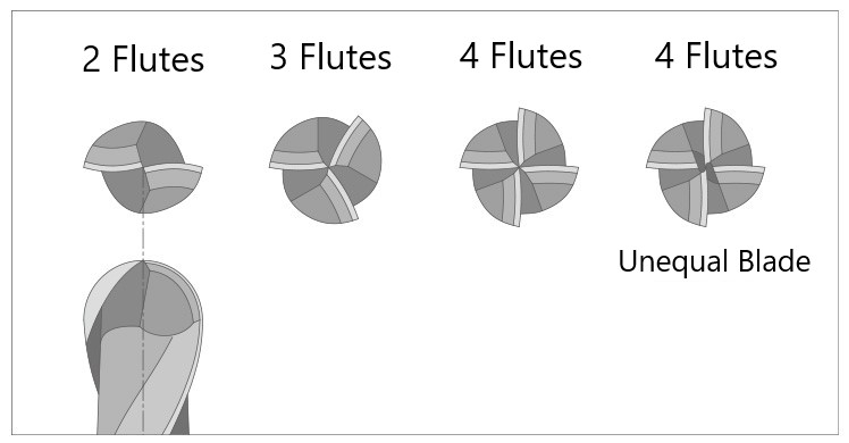
Applicable Shape
There are four types of ball end mills supported by the GriStar Multi 5 Axis: 2-flute, 3-flute, 4-flute, and 4-flute unequal flutes.
Shape Selecting
First, select the tool software depending on the number of blades.
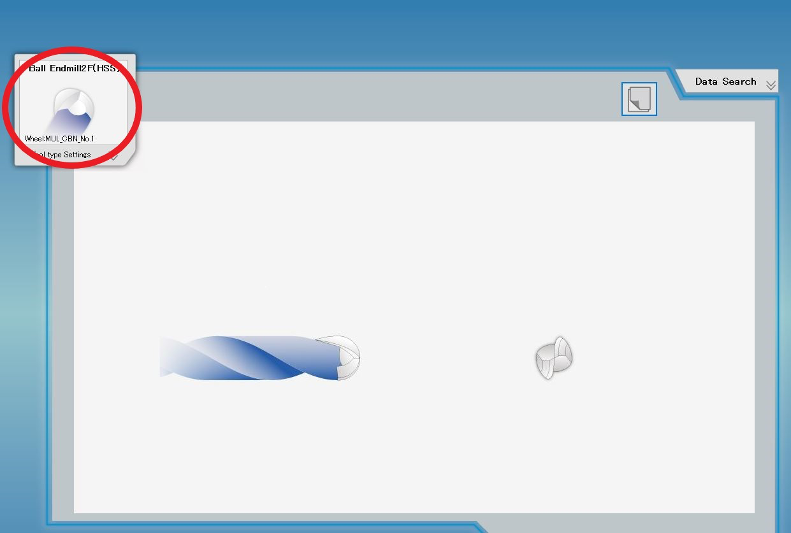
Click the “Tool Type/Wheel Setting” tag in the upper left corner to switch the tool type. Also, replace the grinding wheel with a dedicated grinding wheel.

There is one important thing to note here. The grinding wheel to be set should be a well-formed one (not rounded with worn corners), and the dimensions should be entered as accurately as possible.
When grinding ball end mills, the positional relationship between the grinding wheel and the tool is very important. The use of a grinding wheel with accurately measured dimensions allows for highly accurate grinding.
Enter the tool data
In the parameter settings for ball end mills, there are quite a few parameters can be set, but for basic shapes, we recommend you grind with the default settings and see the results firstly.

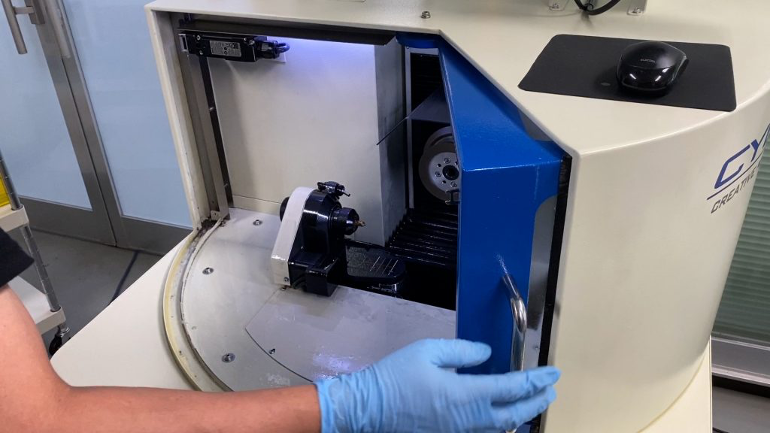
Set the tool
When grinding ball end mills, there is a mode that performs grinding at the C-axis swivel center to improve R accuracy, and we recommend this mode.
In the mode of grinding at the C-axis swivel center, chucking is performed in a different way from the normal tool chucking procedure.
First, press the “Tool Set” button, and click the “A, C Grinding” check button on the screen.

At this time, put the tool in the chuck, set the protrusion shorter than the C-axis swing center, and click the start button once without gripping (collet is loose) to start operation.
Then, the tip of the spindle is checked to prevent it from striking the grinding wheel, and the spindle moves to a position directly opposite the grinding wheel and comes to a stop.
Open the door and chuck the tool in a position where it lightly touches the grinding wheel. At this time, tighten the chuck while supporting the tool and keeping it touch at the grinding wheel.

lose the door again and press the start button to start grinding after sensing the groove position.
Although comparing to other tools, the chucking process requires one more step, we recommend this method because it does not take much time and allows for high-precision grinding.
That’s all of how to regrind a ball end mill.
<Previous> Regrinding endmills on GriStar Series No.2 (3~6F Endmill)
<Next> Regrinding endmills on GriStar Series No.4 (Outside Edge)