


Regrinding drills on GriSter Seies (First)
Jun, 23, 2021

In this article, we will explain how to regrind drills with the GriStar series automatic tool grinding machines. Since there are many variations of drills, we will divide the explanation into several parts, so please keep up with us until the end.
About the Start Screen
When you turn on the power of GriStar, you will see the “Start” screen as shown below after a while.
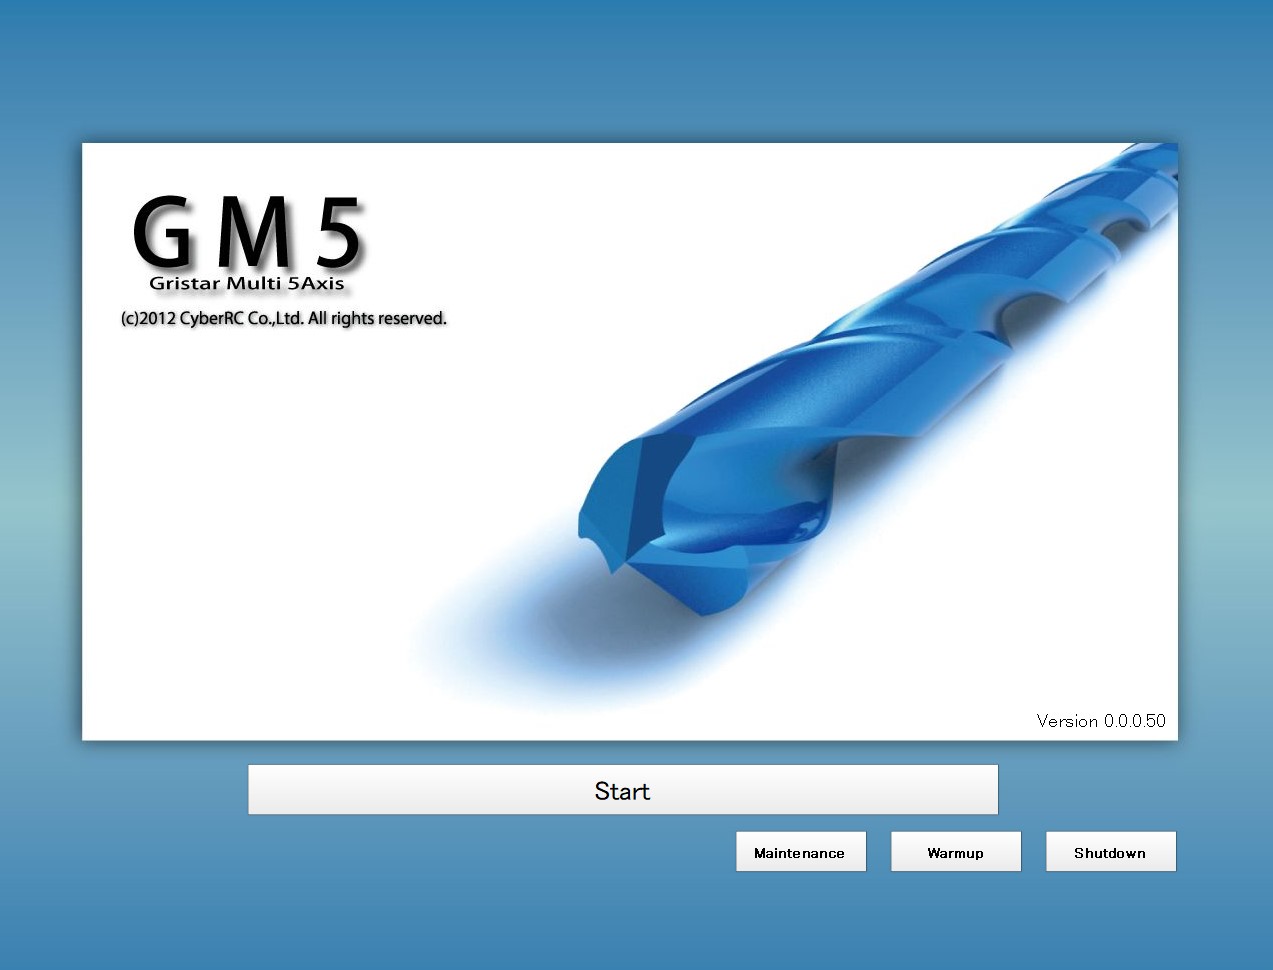
The “START” button: Set the machine to origin position and make it ready for operation.
The “Maintenance” button: Used for maintenance.
The “Warm-up” button: Perform warm-up operation.
The “Shutdown” button: Turn off the power.
When the power is turned on, please perform warm-up firstly. This operation lubricates the sliding parts and stabilizes the machine accuracy.
When the warm-up is complete, press the “START” button. After the origin return operation is completed, the grinding operation can be performed.
Select tool type and grinding wheel
To set the tool type you want to grind, first click on the icon in the upper left corner which shows tool shape.

Click to move to the wheel setting screen.
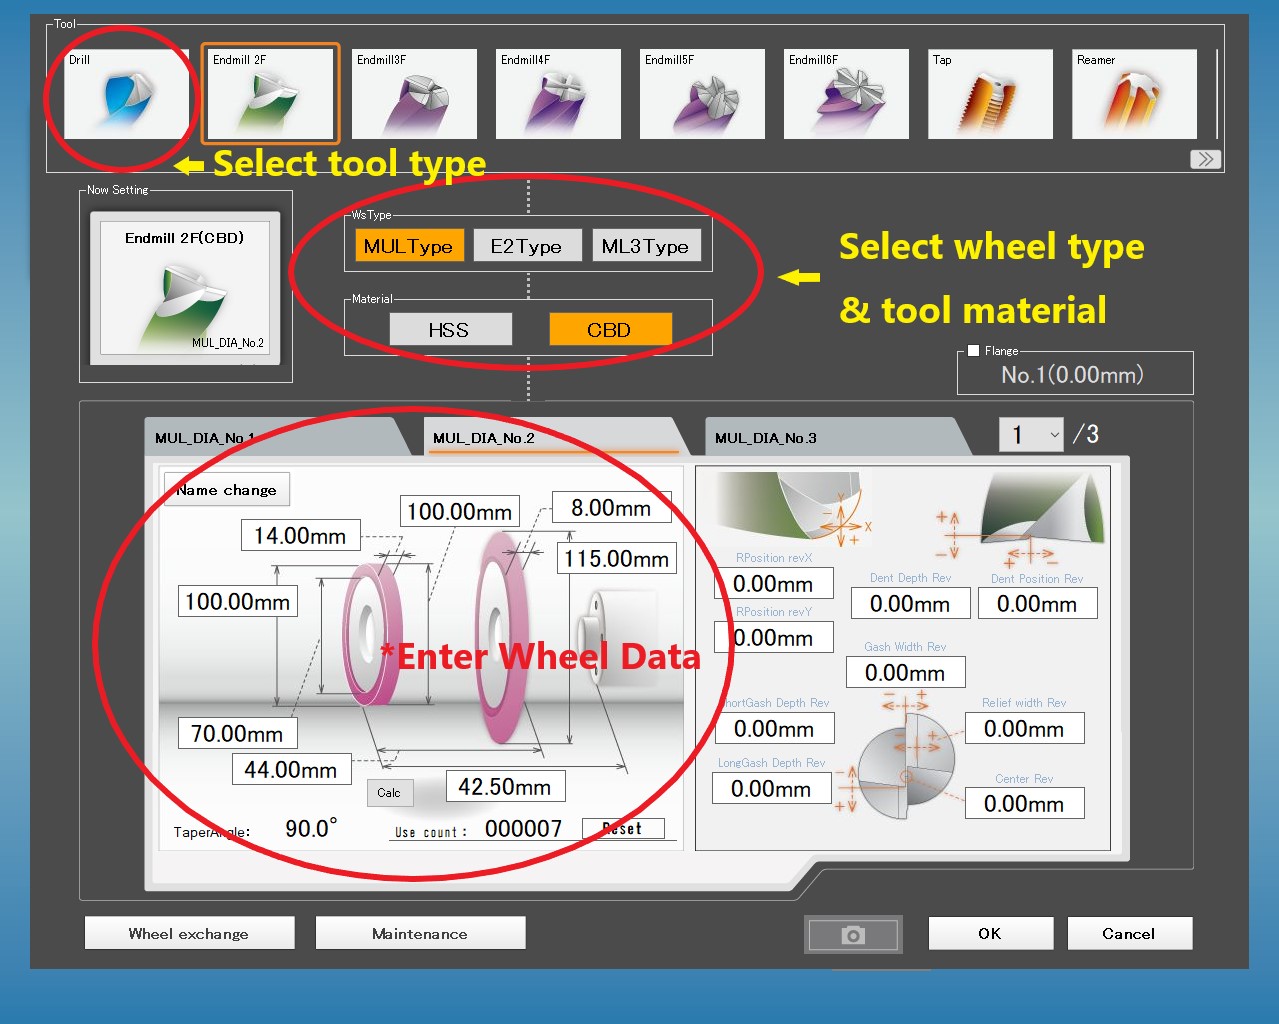
At the top of this screen, you will see some icons of grindable tool shapes.
Select “Drill” from these icons.
Select the tool material and wheel shape, and enter the wheel data.
If the wheel data is not entered correctly, grinding process will not be performed successfully. If the wheel data is significantly different from the entered data, the wheel or the machine itself will be damaged.
(This rule applies to all tools, therefore, please take cautions when entering wheel data.)
When you have finished entering the data, click the “OK” button. It returns to the previous screen.
Create new tool data
When finished selecting the tool type and grinding wheel, enter the shape of the tool.

First, click the “New tool data creation” button at the bottom left of the screen. (In the case of GriStar SP, click the option button at the bottom right -> New tool data creation)
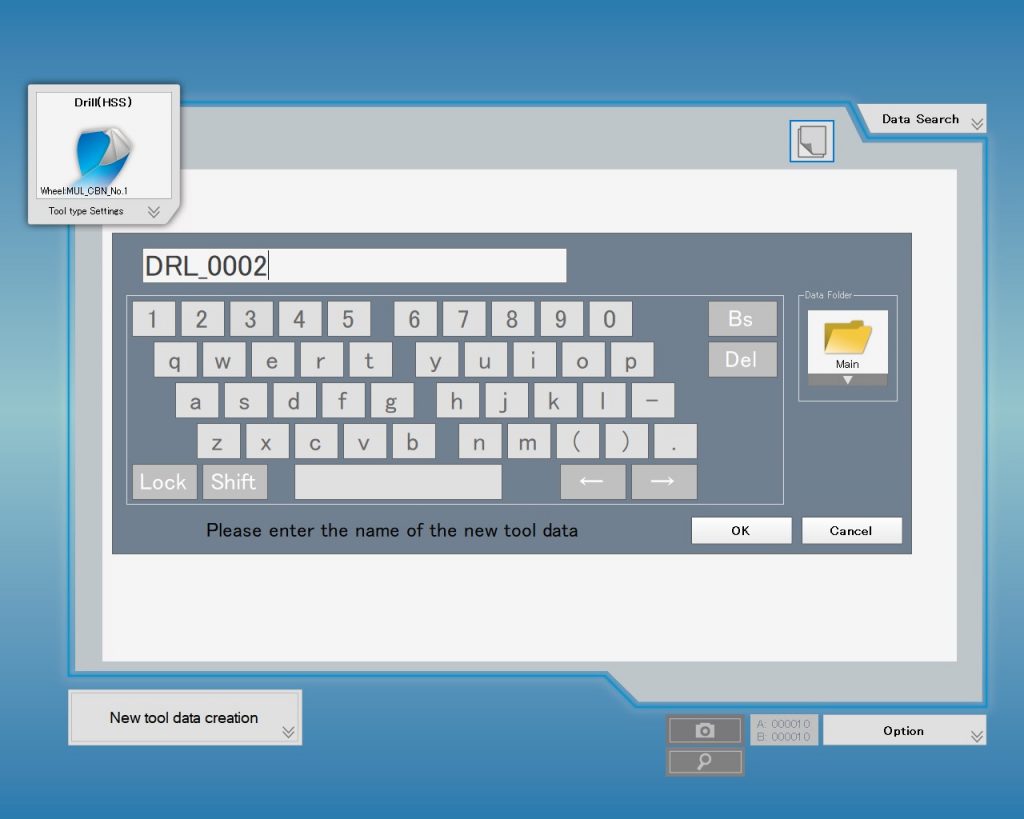
Give it a name that is easy to understand and click the “OK” button.

When the shape selection wizard appears, select “Relief Shape”, enter “Diameter”, “Point Angle” and press “OK”.
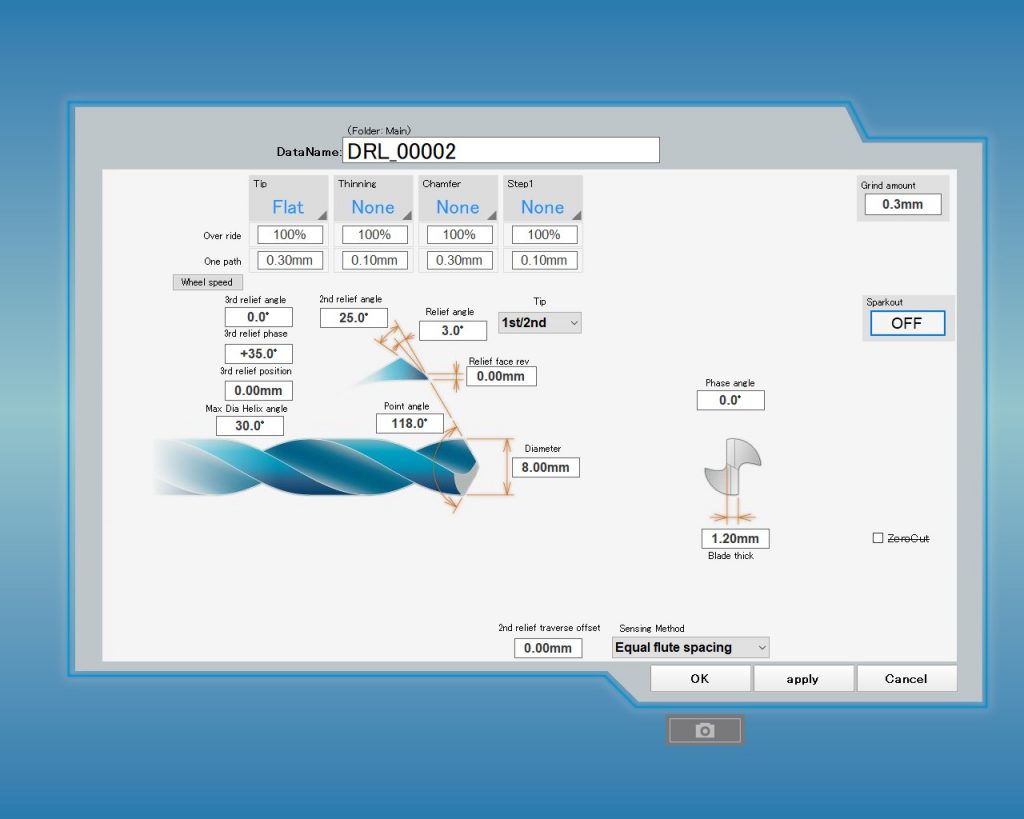
You should now see the detailed tool data entry screen. Except for the data entered in the shape selection wizard earlier, the general settings have been automatically set.
The fine adjustment is needed depending on the tool shapes. We will discuss it in the next few articles.
In the next article, we will discuss the drill relief surface shape.
<Previous> GriStar Series Comparison
<Next> Regrinding drills on GriStar Series No.2 (Relief shape)